How a Fluorescent Penetrant Inspection Works

April 14, 2021
Metal is all around us in almost every gadget, wall, and device. From the lowliest of springs found in simple toys to the most essential pipe, bracket, or hinge in every machine, metal supports us in virtually everything we do. As common as it is, few people stop to think about the work that goes into creating all these elements of daily life. Almost no one realizes the work that goes into ensuring every part that ships from a factory is flaw-free and will last a long time.
Every part that leaves a factory must undergo a thorough inspection that ensures quality is upheld. Every point in the process has its hazards that have to be accounted for before any part can be shipped. From mixing the alloys thoroughly to cast or injection mold, metal undergoes many complex molecular changes on its way to a more useful form. One common and effective method to do just that is penetration inspection. How a fluorescent penetration inspection works is not too different from the traditional methods. However, there are a few distinct advantages to this type of inspection.
What Is Penetration Inspection?
When it comes to metal, many things can go wrong that would surprise the average person. Many of us equate metal to impervious qualities. How can metal ever be anything besides solid and impenetrable? If not carefully crafted, metal can be too brittle or contain uneven levels of hardness. It’s also very susceptible to fracturing and uneven stress points if not properly allowed to cool. Finally, since metal is liquid while being formed into a component, it’s as likely to be impacted by gases creating hollow sections, tunnels, and surface damage as the gasses rise within the cooling metal.
The purpose of penetration inspection is to detect surface-related damages that occur due to one of the many minute factors of metal manufacturing going awry. Major problems are easy to spot with the eye, but the addition of dye makes these problems and much easier to discover. Based on the nature of the flaw, a part either needs to be reworked or scrapped. Ultimately, this process saves customers time and money by reducing the chances of sending out a faulty part. Additionally, metal manufacturers can recycle their materials back into the process and save money as well.
A Brief Look at Methods
The earliest of these methods for discerning flaws in metal first appeared as early as the 1900s—in particular, finding minute flaws in railway tracks was key to upkeep and expansion. In those days, oil was used to spot pores and marks that could potentially reveal deeper cracks and stress points. Soon after this first application, the process was improved with the addition of powdered chalk, which helped make flaws quickly visible. The process would later be again updated to use easy-to-spot colors of dye.
As a result, the entire process would come to be known as dye penetration inspection. Today, bright colors of thick dye are applied using an aerosol can. The dye must be applied to a clean surface on a level plane. Aerosol or a similar fine spraying method is the best way to get an even coating of dye, so a ventilation hood is common over testing and inspection areas. The result looks much like spray painting, but the solution does not set in the same way. Rather than drying, the dye can be cleaned on the surface, leaving traces only in damaged areas. Although this process is effective and inexpensive, it can only be used to detect surface flaws on non-porous material. Lastly, this method is less effective in the case of castings with rough surfaces or on components with welded joins, as dye gathers in these uneven areas.
How Fluorescents Work
The difference in how a fluorescent penetration inspection works is of course the addition of fluorescent dyes. When used for an inspection, fluorescents significantly increase the depth that flaws can be detected. Once under UV light, fluorescent material glows brightly. The variety used in this type of work radiates a neon yellow color. Although the room is relatively dark with only UV lights on, the brightness of the material makes it easier to spot flaws than a fully lit room and standard-colored dyes.
Dark corners and seamed areas that would otherwise gather normal dye are quickly apparent as the glowing material highlights these areas. It’s much easier to discern a deep crack or major flaw from simple surface marring. Aircraft parts especially require highly detailed inspection, and so fluorescent is commonly used to thoroughly check for tiny flaws. Most commonly are stress cracks due to metals not cooling evenly or failing to fuse properly at joins.
The Benefits of Fluorescents
Despite the unusual appearance, the chemicals used for inspections are not harmful to parts being tested. Besides, helping manufacturers build reliable brand testing in this way is useful for improving the manufacturing process over time and homing in on common shortcomings present in current processes.
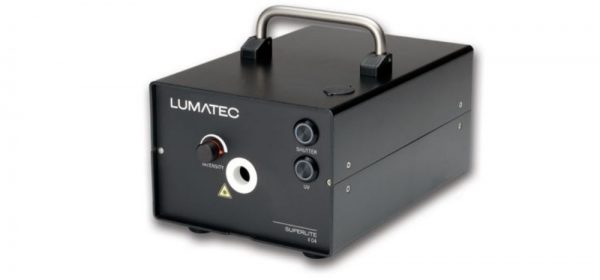
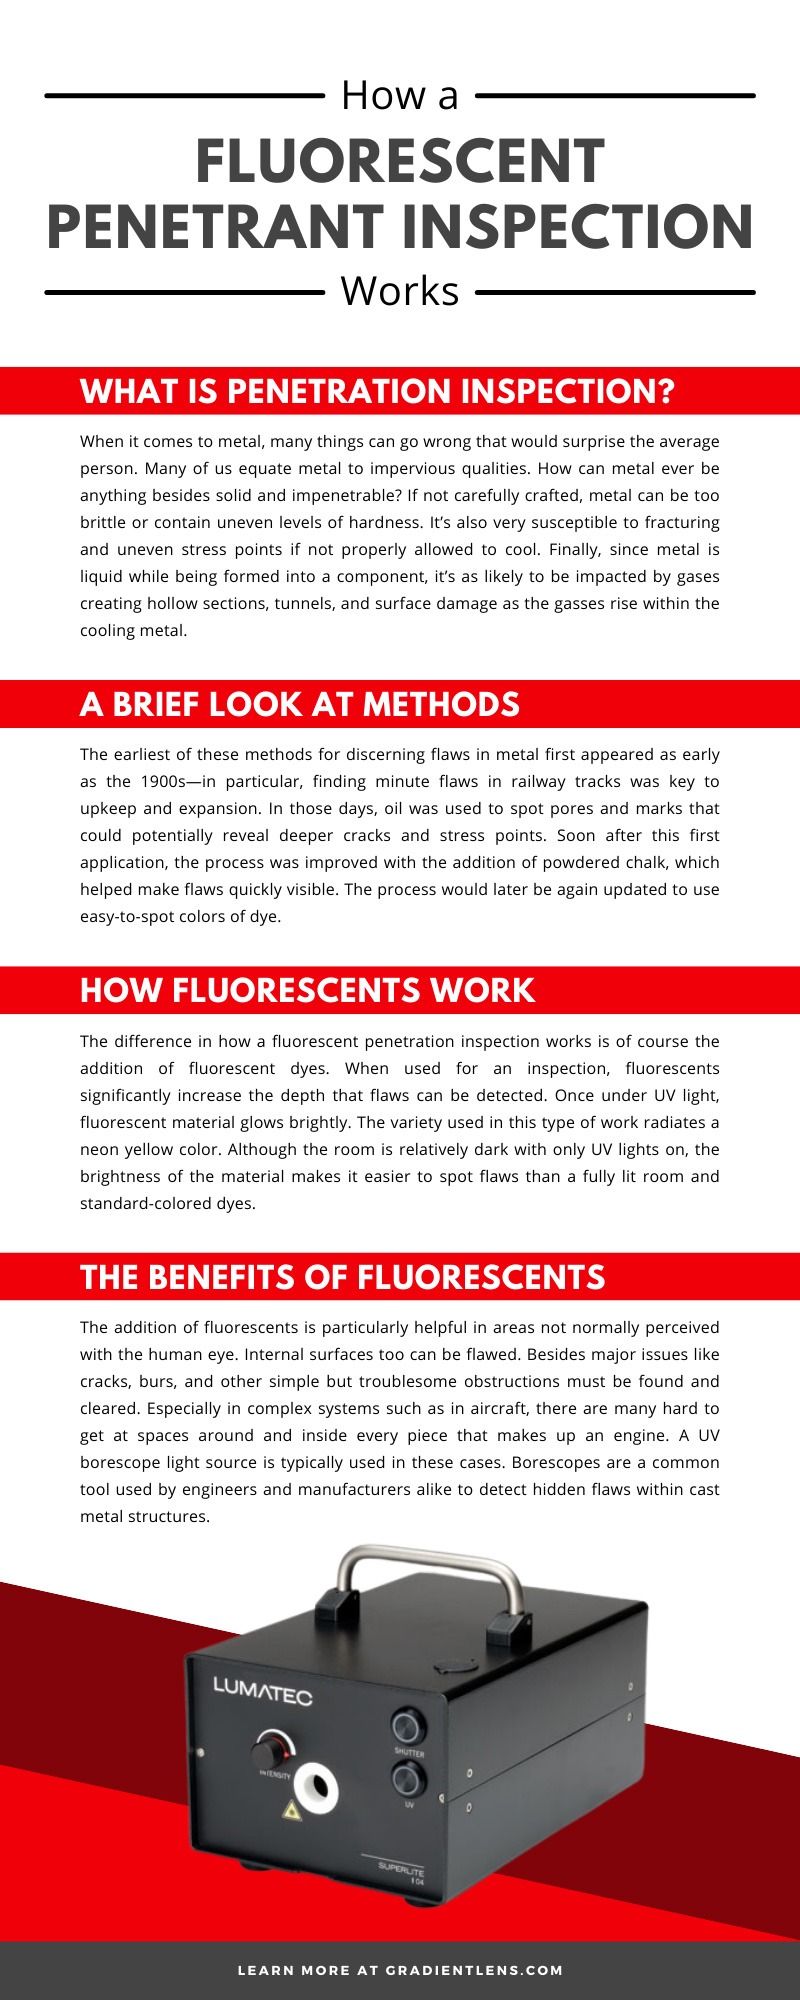
The addition of fluorescents is particularly helpful in areas not normally perceived with the human eye. Internal surfaces too can be flawed. Besides major issues like cracks, burs, and other simple but troublesome obstructions must be found and cleared. Especially in complex systems such as in aircraft, there are many hard to get at spaces around and inside every piece that makes up an engine. A UV borescope light source is typically used in these cases. Borescopes are a common tool used by engineers and manufacturers alike to detect hidden flaws within cast metal structures.
We are a proud manufacturer of borescopes with over eighty models available. Gradient Lens has been specializing in remote inspection equipment for over twenty years and has one of the broadest arrays of selections in the industry. When it comes to the importance of detecting manufacturing flaws early, we understand that precision is at the heart of the whole process. Explore our inventory of different borescopes to discover the perfect unit for the exact work you need or reach out to us today.
